Asian Fish Sandwich


Sometimes it is hard to stay away from all the fast processed food out there. My husband and I have not eaten out, unless it is an organic farm to table restaurant, in a long time. Because I am so in love with my man, I want him around. I make sure he gets "real food" to eat. Not the chemically laden, genetically modified, processed food you get at most restaurants. 


So I have been recreating our comfort foods at home. I have been missing a good crispy fish sandwich for some time. It was time for me to create one, and this one did the trick. Way better than anything I have been served in a restaurant, and because it was made from scratch with wholesome ingredients, I didn't feel gross after I ate it.  I made them into sliders for easier eating. They are divine, I hope you try them!


Asian Fish Sandwich

For the slaw
1 1/2 Tablespoons Rice wine vinegar
1 Tablespoon Low Sodium Soy Sauce
1 Tablespoon Peanut Oil
1/4 Tablespoon Sesame oil
1/4 Tablespoon Honey
1/4 Tablespoon Fresh lime juice
1 pinch Cayenne pepper
1 pinch Red Pepper Flakes
1 pinch Salt and pepper to taste
1 cup Shredded Cabbage


flour dredge: 1/4 cup flour, 1/2 tsp salt, 1/4 tsp pepper
2 eggs
Breading:
1 cup panko breadcrumbs

1/2 teaspoon ground ginger
1/2 teaspoon salt
1/4 teaspoon paprika
1/8 teaspoon pepper


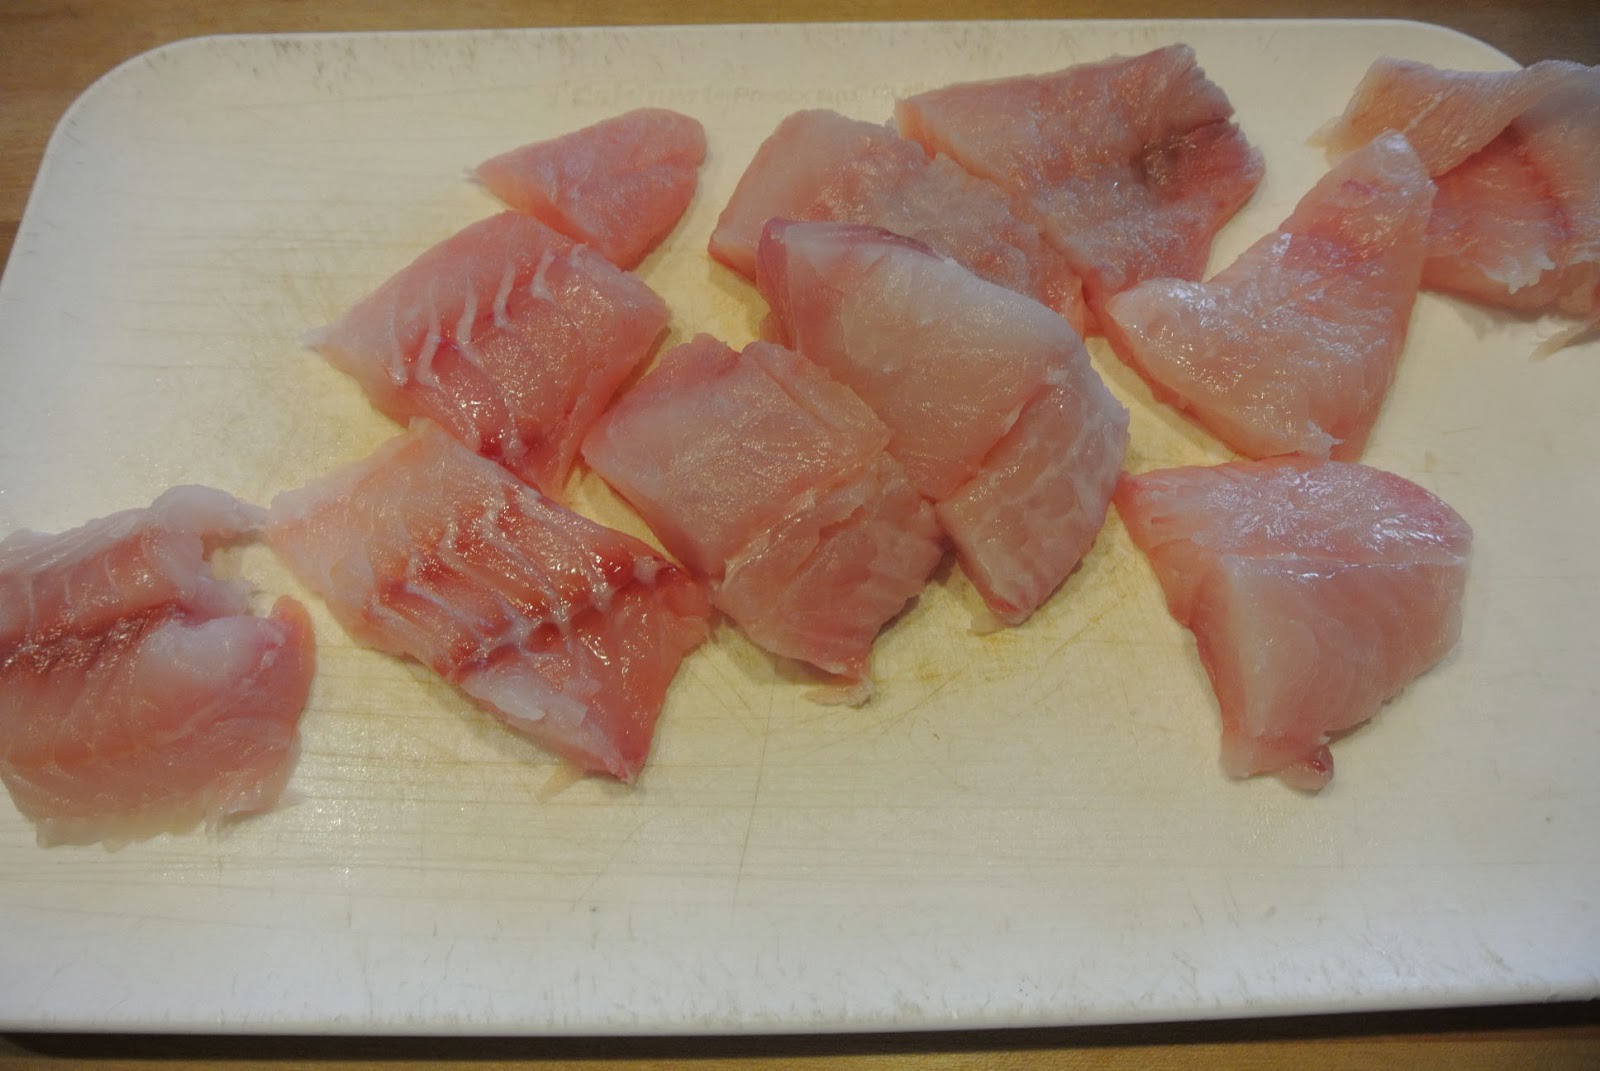
1/2 pound fish fillets. I used snapper, but mahi, halibut, or any whitefish will work
2 Tablespoons butter 
1 Tablespoon olive oil


For the Yogurt Sauce:
1/4 cup kefir cheese (spreadable greek yogurt)
1 Tablespoon dill pickle juice

1/2 teaspoon ground ginger
1/4 teaspoon hot sauce


6 dinner rolls of your choice
Directions:


Toss the panko crumbs with ginger, salt, paprika, and pepper.


Cut the fish filets to fit on your dinner rolls. 

Prepare a dipping station.  One bowl with the flour dredge mixed together. One bowl with your eggs whipped. One larger bowl with the breading. 
Start by dipping your fish in the flour and coat on each side.
Next dip in the eggs.
Lastly, coat the fish in the breading mixture. 
Melt 2 Tablespoons butter and one tbsp olive oil in a skillet and add fish, cooking each side until browned, turning once.


Meanwhile, prepare sauce. Mix together all yogurt sauce ingredients in a small bowl and set aside. 

When fish is almost done, prepare your buns.  Spread each bun with yogurt sauce mixture. Place cabbage slaw on each bun. Top with fish fillet. 
Dabble a little more of the sauce on the top bun and top the fish. 
Enjoy!

Caramel Apple Cinnamon Rolls


Caramel Apple Cinnamon Rolls

My husband LOVES caramel. I know that any time I make anything with caramel, he will pleased. So when I was surfing pinterest the other day and saw Caramel Apple Cinnamon Rolls, I knew they had to happen. I haven't done much baking lately, and it was time. 

When I go through the trouble to make cinnamon rolls from scratch, I always make a full batch. No reason to make just 2 rolls for us. This recipe makes 12 rolls, I was in a sharing mood with my neighbors, and Randy's co-workers. 

These are divine. Proceed with caution, because your waistline will be affected. If you are ready to indulge... these bad boys are for you.

Caramel Apple Cinnamon Rolls
adapted from gimme some oven

Dough Ingredients:
1/2 cup milk (I used 2%)
1/8 cup butter
2 cups all-purpose flour, divided
1/4 tsp. salt
1 envelope instant or ‘rapid rise’ yeast (approx. 2 1/4 tsp)
1 egg

Caramel-Apple-Cinnamon-Sugar Filing Ingredients:
1/3 cup granulated sugar
1/3 cup packed brown sugar
2 Tbsp. ground cinnamon
6 Tbsp. butter, (completely) softened
1 Granny Smith Apple, cored and finely chopped
1/2 cup caramel sauce, homemade or store-bought (recipe for caramel sauce below.)
Topping:
1/2 cup caramel sauce, homemade or store-bought (recipe for caramel sauce below.)

To Make The Dough & Filling:

Melt the butter and add it to your milk. Heat until a little warmer than room temperature. You can do this on the stove top or in the microwave.

In the bowl of a stand mixer fitted with the dough hook attachment, add half the flour, yeast, sugar and salt. Stir by hand to combine. Add the egg and milk mixture, and turn the kitchenaid on medium-low speed until combined. Add the remaining flour, 1/4 cup at a time, beating after each addition until incorporated. When the dough begins to form a ball and pulls away from the sides of the bowl, you have added enough flour. Continue beating for 5 minutes on medium-low speed to knead the dough. 
Remove the dough hook and cover the dough with a damp towel and let rise for at least 30 minutes or until almost double in size.
Meanwhile, begin making your filling by whisking together sugars and cinnamon in a bowl until combined.

When the dough is ready, turn it out onto a floured work surface. Then use a floured rolling pin to roll the dough out into a large rectangle, about 14 x 9 inches in size. 
 Use a knife or pastry spatula to spread the softened butter out evenly over the entire surface of the dough. 
Then sprinkle evenly with the cinnamon and sugar mixture. Then sprinkle on the finely chopped apples, and drizzle with 1/2 cup caramel sauce.
Beginning at the 14-inch edge, tightly roll up the dough. 
And then give the final seam a little pinch so that it seals. 
I cut off the ends and just cut it up to make a tiny dish of pull apart bread.

Cut into 12 rolls. Place each of the cut cinnamon rolls into a greased pie plate or 9 x 13-inch baking dish. Then cover again with a damp towel, and leave the dish in a warm place to rise for 1 hour. If you have a sunny windowsill this works great. 
If not, I find a heating pad on low setting works wonderful. 
When the rolls have risen, uncover the dish. Then place on the center rack of the oven and bake at 350 degrees F for 20 minutes, or until the rolls are golden and cooked through. Remove and let cool for at least 5 minutes. Drizzle with remaining caramel sauce and serve.


Homemade caramel sauce 

1 packed cup brown sugar

1/2 cup half-and-half

4 tablespoons butter
Pinch salt
1 tablespoon vanilla extract

Mix the brown sugar, half-and-half, butter and salt in a saucepan over medium-low heat. 

Cook while whisking gently for 5 to 7 minutes, until it gets thicker. Add the vanilla and cook another minute to thicken further. Turn off the heat, cool slightly and pour the sauce into a jar. Refrigerate until cold.


The Best Homemade Brownies ever!


Sometimes you just have to have chocolate.
This is one of those times. When life gives me a bad cold, bad weather, and a bad day. 
This is my answer.
And yes, these are simply the best brownies you will ever have. EVER!

The Best Homemade Brownies
adapted from Cooking Inspired

Brownies:
1 1/2 cups granulated sugar
2/3 cup oil
1/4 cup water
2 cups good quality chocolate chips (no nestle please)
2 tsp vanilla extract
4 large eggs
1 1/2 cups all purpose flour
1/2 tsp salt
1/2 tsp baking soda

Frosting:
1/4 cup granulated sugar
1/4 cup water
3 1/2 ounces bittersweet chocolate
3 Tbsp unsweetened cocoa powder
1 Tbsp vanilla
4 large egg yolks
1/2 cup butter

Preheat oven to 325 degrees F.
Combine the sugar, oil and water in a saucepan set over medium-high heat. Cook the mixture until it starts to boil. Remove from the heat. Add the chocolate chips and vanilla. Stir until the chocolate is fully melted and the mixture is smooth.

Mix in the eggs, one at a time, until fully incorporated. Mix together the flour, baking soda and salt. Mix the dry ingredients, about a half cup at a time, into the chocolate mixture, mixing just until smooth.

Pour the batter into the prepared pan. Bake in the center of the preheated oven for 35 to 40 minutes. Remove the pan to cool completely.

Now make the frosting. In the top of a double broiler set over hot water. Combine the sugar and water. Cook until the sugar dissolves. Add the chocolate, cocoa and vanilla. Cook, mixing well, until the chocolate has melted. Add the yolks and cook, stirring constantly, until they are incorporated. Add the butter, stirring until it has melted and the mixture is smooth.

Pour the frosting into a container and let it sit, uncovered until it has completely cooled. Refrigerate or freeze until it is spreadable.
Spread the frosting over the cooled brownies.

Tomato Basil-Tarts


I have been having a lot of fun working with the Lazy Baker's Puff Pastry  I made. I have put this pastry through the ringer with freezing, thawing, rolling, and it stands up to the best! 
So I wanted to make a cute little side dish/appetizer to go along with our soup I made for dinner. So I went back to the book that gave me the wonderful puff pastry Baking by Hand

Tomato Basil-Tarts
adapted from Baking by Hand
Makes 4 appetizer tarts
1 Organic Tomato
Extra-virgin olive oil
fine sea salt
18 fresh basil leaves

Preheat the oven to 450 degrees F. 
Roll out the dough to about 1/8 inch thick. Cut into circles. Place in the freezer for 10 minutes.
Slice the tomato 1/4 inch thick. 
Take out your pastry circles. Lightly brush the surface of the dough with olive oil, and place the tomato slices evenly spaced around the circle of dough. Sprinkle with sea salt. 
Bake on a baking stone for 15 minutes, or until the tarts are golden brown. 
Remove from the oven and garnish with basil leaves and serve warm. 

Balsamic Lamb Burgers with Macerated Mint Leaves


I have a friend who while usually quite outgoing, has one interesting reservation regarding food.  She refuses to eat ‘Easter animals’.  This includes bunnies, ducks and of course lamb.  I always found this amusing and sad, there are some amazing gourmet dishes to be had from each.

Rather than make this a soapbox for non-vegetarians, lets instead focus on one of the more overlooked sources for a great burger – ground lamb.  Economical and with great flavor, it surprises me that this is not featured more.  And the natural parings with lamb are numerous, from rosemary, to chèvre, to mint and more.  This two part recipe features a sweet/tart pairing.  It is slightly sweet but in the best savory way, with deep layered flavors.  The burger will be quite juicy, and the slight bite of the softened mint refreshes the experience.

Please don’t let the word ‘macerate’ scare you away.  It simply means to soften using a liquid.  In this case, we are using the lemon/vinegar/soy mixture to soften the mint.  The mint soaks in the liquid and becomes quite limp.


for the mint maceration


for the burgers


Combine the lemon juice, pear vinegar, soy and sugar in a small bowl.  Stir to dissolve sugar.  Crush the red pepper flakes with your fingers and add.   Remove the leaves from the mint stems and add to the liquid.  There will appear to be more leaves than liquid, but have faith, the acid will break down the mint leaves and soften them.  Set this aside for at least an hour.

In a large mixing bowl add the ground lamb.  Add remaining ingredients (except buns!) and gently mix into the meat.  As with any burger, do not over mix as this will dry out and toughen the meat.  Shape into six patties, place on plate and cover with plastic wrap.   Set aside in the refrigerator for at least an hour to meld flavors.

Grill the burgers on medium high heat, two minutes per side, flipping three times.  Toast buns.  Place burger on bun and top with a generous portion of the macerated mint leaves.

Makes 6 burgers.

Balsamic Watermelon Feta Cubes


At Nan’s, we admit we love to cook, and we cook all the time.  But truth be told, we are lazy, too.  We like great food served simply.  This can mean easy, too!  Here is a painless summer appetizer which will dazzle but is SO uncomplicated.  By the way, we found the toothpick/skewers shaped like tiny forks at a winery, but specialty cooking shops will have them too.

Oh, and most important – this is purely a serving suggestion!  You can modify this at your pleasure.  How about using mint instead of the basil?  Or using our Passion Fruit Balsamic Vinegar or our Raspberry Balsamic instead?  A different melon?  Have fun with this, make it yours!


  • ½ small seedless red watermelon, cut into 1 inch cubes
  • 6 ounce package whole feta cheese (good quality), cut into ½ inch cubes
  • 12 to 18 basil leaves
  • Pastamoré Barrel-Aged Balsamic Vinegar
  • course sea salt, to taste


Skewer the watermelon as shown in the picture, with the skewer pointing up and in the left half of the watermelon.  Place a feta cube on each watermelon cube.  Chiffonade the basil into thin strips (stack the leaves, roll them tightly like a cigar, and then slice the leaves perpendicular to the roll).  After decoratively arranging the watermelon/feta cubes on a serving platter, carefully sprinkle the basil strips on the watermelon/feta cubes.

With your thumb placed over the balsamic bottle opening, or with a spoon, delicately drizzle a small amount of the vinegar on each watermelon/feta cube.  Sprinkle with a dash of course sea salt, and serve.

Makes approximately 25-30 appetizers.

Caprese Skewers


Summer evokes all kinds of season specific food cravings for me; from anything on the grill to icy-cold drinks by the pool.  BLT’s, fruit salads, ice cream, and corn on the cob all come to mind as well.  But the food I look forward to most in summer?  A classic Caprese salad.  Traditional 'Insalata Caprese' is nothing more than fresh basil, creamy buffalo mozzarella, and the key component you can only get in summer – great tomatoes.  Purist will season with salt, pepper and olive oil and you are set, but I love the almost as classic variation of the addition of an exceptional Modena balsamic vinegar.


Here is a simple departure on the classic – why not make it into an appetizer?


  • 1 pint cherry tomatoes, washed and stems removed
  • 1 pound bocconcini (fresh mozzarella in small balls), drained
  • fresh basil, leaves only
  • extra virgin olive oil
  • sea salt & freshly cracked pepper
  • Pastamoré Barrel-Aged Balsamic Vinegar

Using small skewers (or larger ones cut in half with kitchen shears) start with a cherry tomato, followed by a bocconcini, a basil leaf folded over, another bocconcini, and finally a cherry tomato.  Arrange on serving plate and drizzle well with extra virgin olive oil.  Add salt and pepper to taste, and finally a smaller  drizzle of the Barrel-Aged Balsamic Vinegar.


These can be refrigerated for several hours, but do the seasoning & drizzling just before serving.


Alternatively, if you grocery store offers marinated bocconcini (usually in olive oil, salt & pepper) use these instead, or marinate them yourself for up to 24 hours.